Saturday, January 12, 2013

Thursday, January 10, 2013

Organizing

Josh gives me a hard time because it seems that every time I start to clean a room I feel the need to get more storage boxes.  Really, who couldn't use more storage boxes? Besides that, we have an apartment that seems to get smaller every month -having the organized boxes seems to help me function a little better. Plus the things are so darned handy.

First I did some upkeep in the laundry closet.


I'm collecting vintage hankies/scarves and napkins for some future projects. In the meantime they've been living and falling in the closet so it was time to contain them. These sweater boxes are my new favorite size!

Then I moved on to the bathroom. Thanks to couponing I hardly every pay for toothpaste or deodorant  and I pay very little for feminine products and the few over the counter meds we do take. I try to be reasonable about the couponing, but sometimes you have to get the items you don't need right now because they are free and you might need them later. :)  Boxes help with this, because,  unlike the "extreme couponers" I don't have a basement to stockpile things in ....right now.


The black baskets aren't pretty, but they come in packages of two at the dollar store for $1.35 and they work nicely.  They have smaller black baskets (big enough to separate eating utensils into) (packs for 3 for $1.35) that I used to organize hair products and then  Josh's/extra shaving items into -the hair spray and mouse bottles stand up perfectly in them.

Is there something in particular that you like to use or do to organize?

Thursday, January 3, 2013

Clothes Pin Garland Tutorial


I'm very excited to have partnered with Gleeful Peacock Mercantile to host Pinterest Parties throughout 2013!!!  Be sure to go check out her darling little shop on Brookside in Tulsa.


4240 S Peoria
Tulsa, Oklahoma 74105

We've already had one party at Gleeful Peacock Mercantile where she hosted a Christmas themed Pinterest Party.  We made several cute items including this Christmas card garland!


We made several very Christmasy garlands, but for the purpose of the tutorial I made rainbow clothespins so I could keep it up all year long. Now I can use it to hold mail (icky bills), and groupons/vouchers for date nights (yay).


What you will need:
8 Clothes pins (come in packs of 32 at the Dollar Tree)
Ribbon (I used about 1 ½ yards, 4 ½ feet)
Hot Glue
Diamond Glaze (Did not find this at box stores, I went to a locally owned bead shop to find this.)
                (If you are in Broken Arrow, Oklahoma, check out Beadles near Main Street)
Glitter
Paper Plates  (I also used wrapping paper over my work surface to help contain the glitter)
Foam Brush
Tiny Paint Brush
Slightly Watered-down Glue (or Mod Podge – I just ran out! Who does that?!)
3 Thumb Tacks


Step One:
Prepare for the Glitter! 


I use paper plates to shake the glitter back and forth so that it is easier to pour back into those teeny-tiny bottles when I’m done.

Step Two:
Apply a layer of glue to the top of the clothes pin using your foam brush –it should be even and not gloppy.


Step Three:
Pour Glitter All Over


Shake off the excess glitter.  If you see bare spots, usually around the outside edges, then gently apply more glue using the tip of your foam brush and sprinkle more glitter on top.  Make sure you shake the excess glitter of again, after you touch up. Set the clothes pin to the side and continue with the other 7 exactly like this.  


I did two clothes pins each of 4 different colors so I did both at the same time. It’s great to assembly line things when you can.


Step Four:
Add the Glaze


Working with one clothes pin at a time, after I was sure the glue was dry, I put about 7 drops of the diamond glaze on each clothes pin and used my small paint brush to smooth it out to the edges.  Be sure to push out any bubbles that you see because you can’t get rid of them once the glaze dries.

I found it helpful in preventing bubbles to keep my diamond glaze on its side in one hand while I used the paint brush in the other. 

Make sure these are dry before you try to hang them up. In the meantime jazz up your thumbtacks.


Step Five:
Beautify your Thumb Tacks


Hot glue a button to the top of each thumb tack.  Odds are you will pop the button off the first time you try to press them in the wall so keep your hot glue gun ready, just in case.


Step 6:
Assembly


Hang your ribbon along the wall with a thumb tack in the middle and one on each end. You can hang your ribbon horizontal or vertical.  I’m thinking I will rehang mine vertically by the front door to catch mail and other things that are coming and going.  (Our walls are a bit barren in the living room, so this garland hanging horizontally seems a bit off to me, proportionately speaking.)

Add your cards, bills, kids drawings, or anything else you want using the clothes pins spaced around the garland. And you are done!

-Go Have Fun With It!


Gift Bag Tutorial

For the October Pinterest Party at Owl and Drum I created a super easy trick-or-treat bag tutorial.  These bags are so easy to make, you could crank out a dozen in an hour! They make great gift bags.  I also like to use them as errand bags for taking things back to the library, or collecting things that I need to give to this friend or that family member.  Go check it out the tutorial on Owl and Drum's blog, here.


Tuesday, January 1, 2013

New Year.. New View

This was probably the most productive New Year's Eves in my life!

I've been wanting to do this painting project I saw on Pinterest for a while.


I finally started it on Sunday, and I finished it tonight!  It turned out really well except that I used a cheap paint brush! Now there are a few bristles stuck in the paint. You should never use cheap tools! I know better, and this is just more affirmation.  I will have to fix it later, but for now I'm okay with it.

I also made the bunting I saw on Pinterest! It is a little to long or a little to short, but I'm good with it too because at least it is finally finished!!!

I love the end result which required me taking all the fabric covered canvases off one wall just to hang them up on the next wall. :)


Sunday, December 30, 2012

Log Cabin

I started a Log Cabin Quilt in the summer of 2011, but after messing up a few of the blocks I put it on the back burner -rather the back of the craft closet!

I really want to finish up some of these old projects so I pulled it out, fixed the blocks, and started laying it out.  The log cabin is such a simple block, but I love how complex the end result can be!

Take a look at the different layouts. ("Quilt in a Day: Log Cabin" by Eleanor Burns is the book I used.)


I've decided to go with this one...


Thursday, December 27, 2012

I Quit!!!

I'm quitting my job!

I've been wanting to focus on Gate17 full time for about 9 months now and I'm finally there!

You know, I did the accounting and found out in the first year of business we've cleared a couple hundred dollars profit so it seems like the perfect time to quit my full-time job! Ha!!!

If you don't risk anything you can't gain anything, so I'm risking it here, but I'm very confident.

Plus, a great new opportunity has presented itself to me -helping to maintain some of my stability.

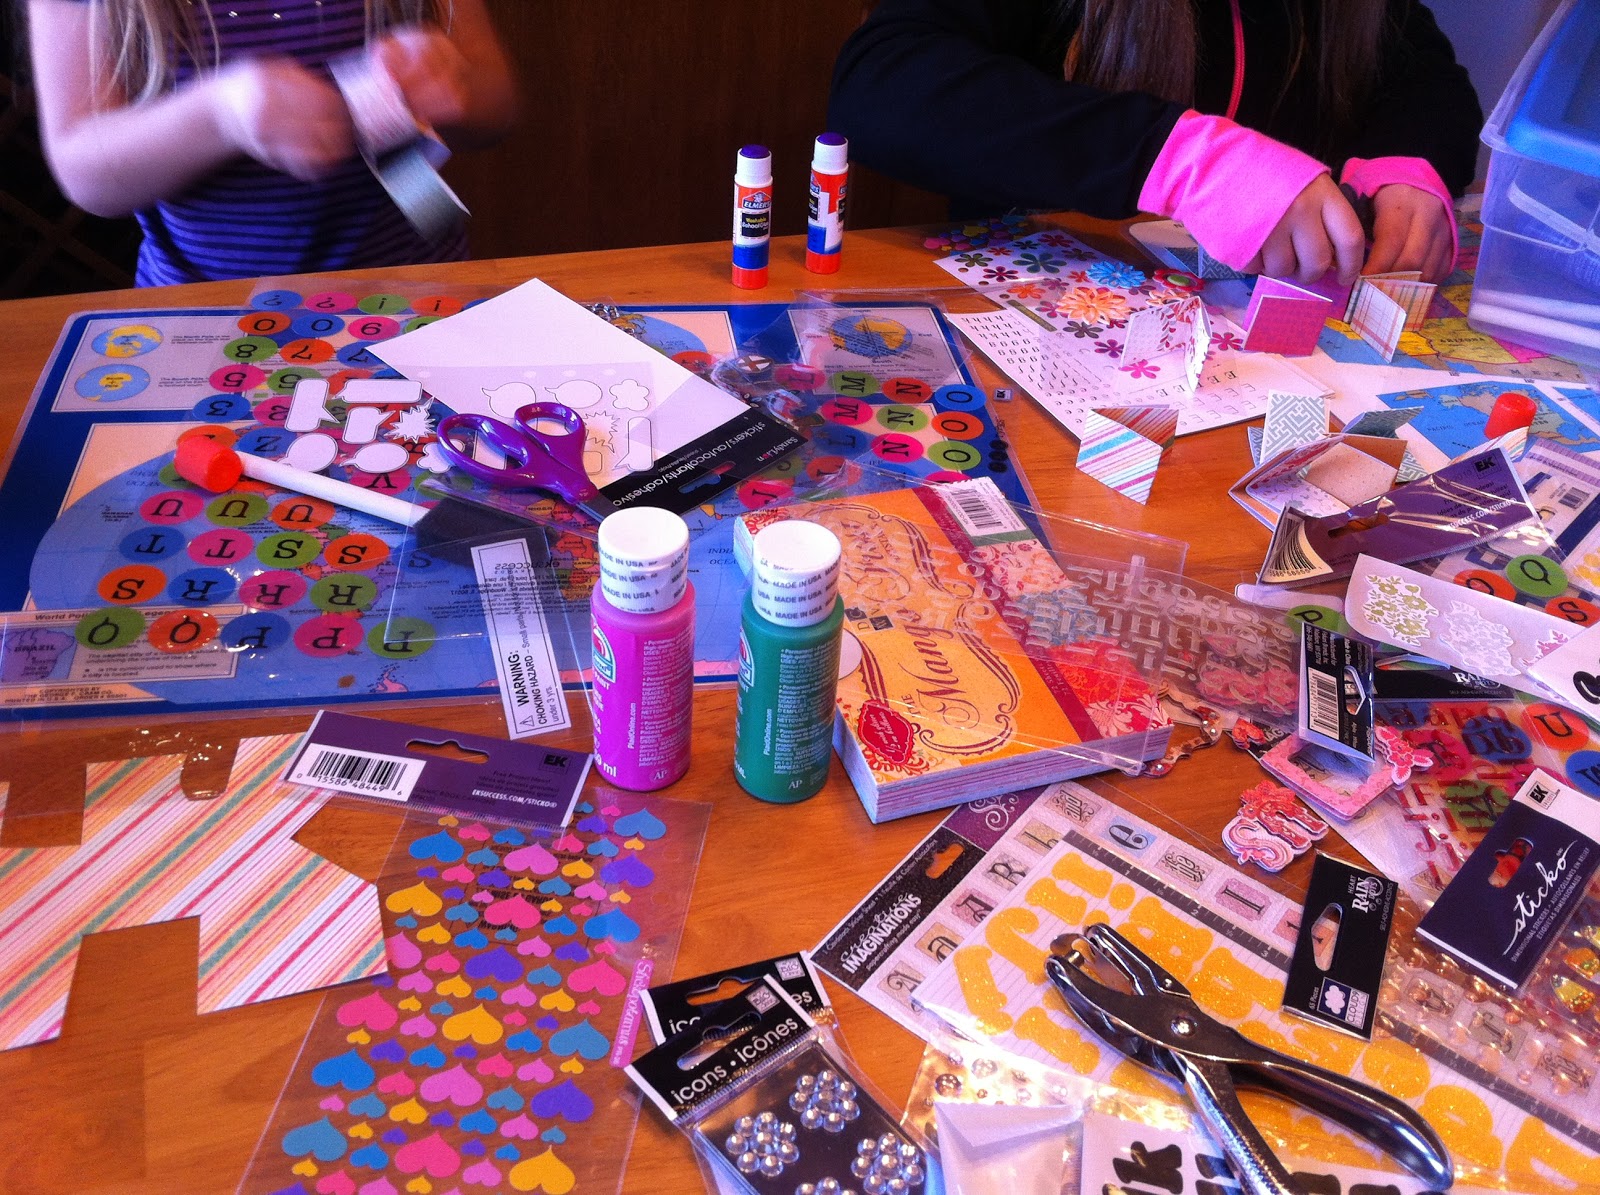
I'm going to start babysitting two cute little girls who love to do crafts! If that isn't just my cup of tea I don't know what is!!!!


I'll be spending about 12.5 hours a week with the girls, giving me time to teach more sewing classes, host more pinterest parties, and develop new things for Gate17 Etsy!

I can't wait to see what comes in the new year!